
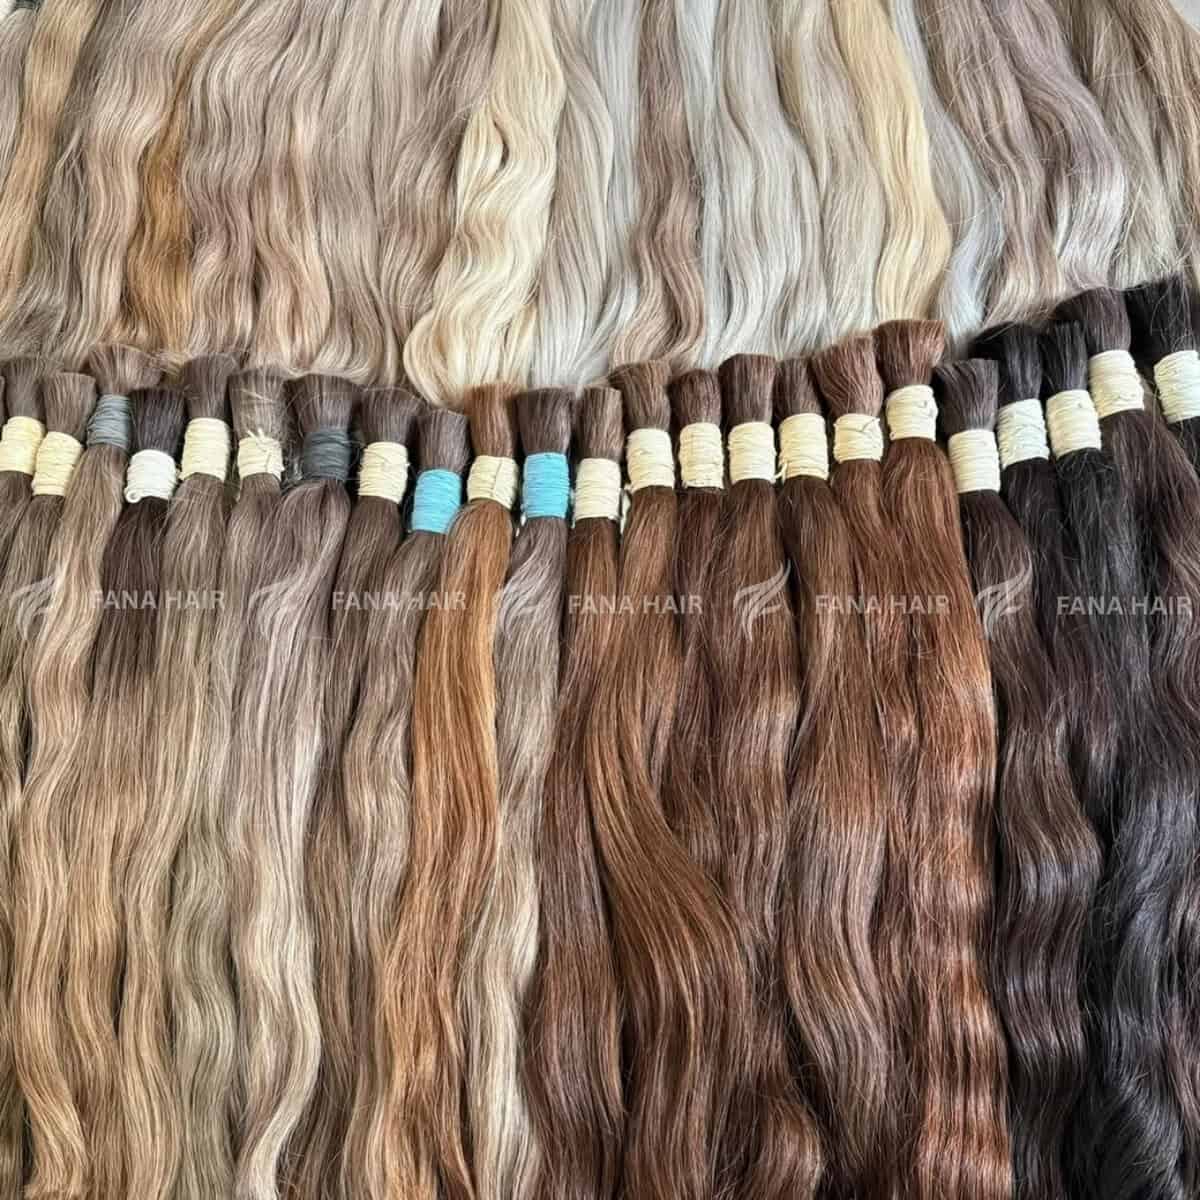
As a modern stylist, what is the #1 color service clients are asking for? Balayage, highlights, and “money pieces.” They want bright, dimensional, sun-kissed hair.
But they are also terrified of the one thing required to get it: Bleach.
Clients are more educated than ever on hair health. They don’t want the damage, the breakage, or the high-maintenance toning appointments. So how do you deliver that high-contrast, perfectly blended balayage on a client with dark, fragile, or even box-dyed hair?
The answer: You stop thinking of extensions as just a tool for length and volume, and start using them as your new color tool.
Custom blending 2-3 different shades of extensions is the ultimate pro-move. It’s the secret to creating a “million-dollar look” that is dimensional, seamless, and—best of all—100% damage-free.
Why You MUST Custom Blend (Instead of Using One Color)
The biggest mistake a stylist can make is matching a client’s hair to one flat color. Why? Because natural hair is never just one color.
A single-shade install looks fake, heavy, and wig-like. By blending, you achieve three critical goals:
- It Looks Natural: You recreate the natural highs and lows that all real hair has.
- It Creates Instant, Damage-Free Color: This is your “magic wand.” You can take a Level 4 brunette and give her stunning Level 10 blonde highlights in two hours, with zero bleach and zero toner.
- It Solves “Problem” Clients: Have a client with black box-dye who wants to be blonde? A client with fragile hair that can’t be lightened? This is your solution.
Part 1: How to Build Your “Balayage Palette”
A perfect balayage is all about creating a soft “melt” from dark to light. You will do this by choosing 2 or 3 specific colors.
- Color 1: The Base (The Depth):
- This is your “lowlight” and your anchor.
- How to Choose: This color should be the closest match to the client’s natural base color, or the darkest shade in their hair. This will be placed underneath and near the root to create shadow and depth.
- Color 2: The Highlight (The “Pop”):
- This is the lightest shade you will use. It’s the “blonde” in the balayage.
- How to Choose: This is the bright, “money piece” color. It could be a platinum blonde (#60), a golden blonde (#24), or a caramel (#27). This is the color that creates the “pop.”
- Color 3: The “Bridge” (The “Melt”):
- This is the secret weapon to a high-end blend. The “Bridge” is a mid-tone color that is lighter than the Base, but darker than the Highlight.
- How to Choose: This color (like a dark ash blonde #16 or a light brown #8) is what melts the dark and the light together. It prevents the highlights from looking “stripey” and creates a soft, gradual transition.
Part 2: Application Techniques for Blending
How you place these colors is what creates the effect.
Technique 1: The “Highlight” Effect (Classic & Defined)
This is a simple, alternating pattern.
- How it Works: You simply alternate your colors as you work.
- For Strand-by-Strand (I-Tips/Keratin): Apply in a pattern: Base, Bridge, Highlight, Bridge, Base… This creates a beautiful, defined, all-over highlighted look.
- For Tapes: Alternate your sandwiches: Base Sandwich, Highlight Sandwich, Base Sandwich…
Technique 2: The “Balayage” Effect (Natural & Sunkissed)
This is all about strategic, dimensional placement.
- How it Works: You are painting with hair, placing the light where the sun would naturally hit.
- The Blueprint:
- Nape (Bottom Rows): Use only your Base color here. This creates the dark, rich “shadow” underneath that makes the top layers pop.
- Mid-Section (Occipital Bone): Start introducing your Bridge and Highlight colors. A good ratio is 50% Base, 50% Bridge/Highlight.
- Top & Crown: This is where you put your lightest pieces, but mix them with the Bridge to keep it soft.
- The “Money Piece”: Frame the face (in the “safe zone”) with your lightest Highlight wefts or strands to give that bright, face-framing pop.
Technique 3: The “Melt” Effect (The Tape-In Sandwich Trick)
This is a brilliant, advanced technique for tape-ins to create a soft, diffused color.
- How it Works: Instead of a sandwich being two same-colored pieces, you create a custom-blended sandwich.
- The “Melt” Sandwich:
- Top Tape: Use your Base (darker) color.
- Bottom Tape: Use your Highlight (lighter) color.
- The Result: When you sandwich these two different colors together with the client’s hair in the middle, they blend through each other, creating a soft, melted look with no harsh lines.
The Final Word
Stop being a hair installer and start being a hair artist. By mastering the art of blending 2-3 colors, you can offer your clients the exact dimensional, on-trend looks they crave, all while protecting the integrity of their natural hair.
It’s a safer, faster, and more profitable way to “color” hair, and it will establish you as the go-to expert in your salon.
Leave a Reply