
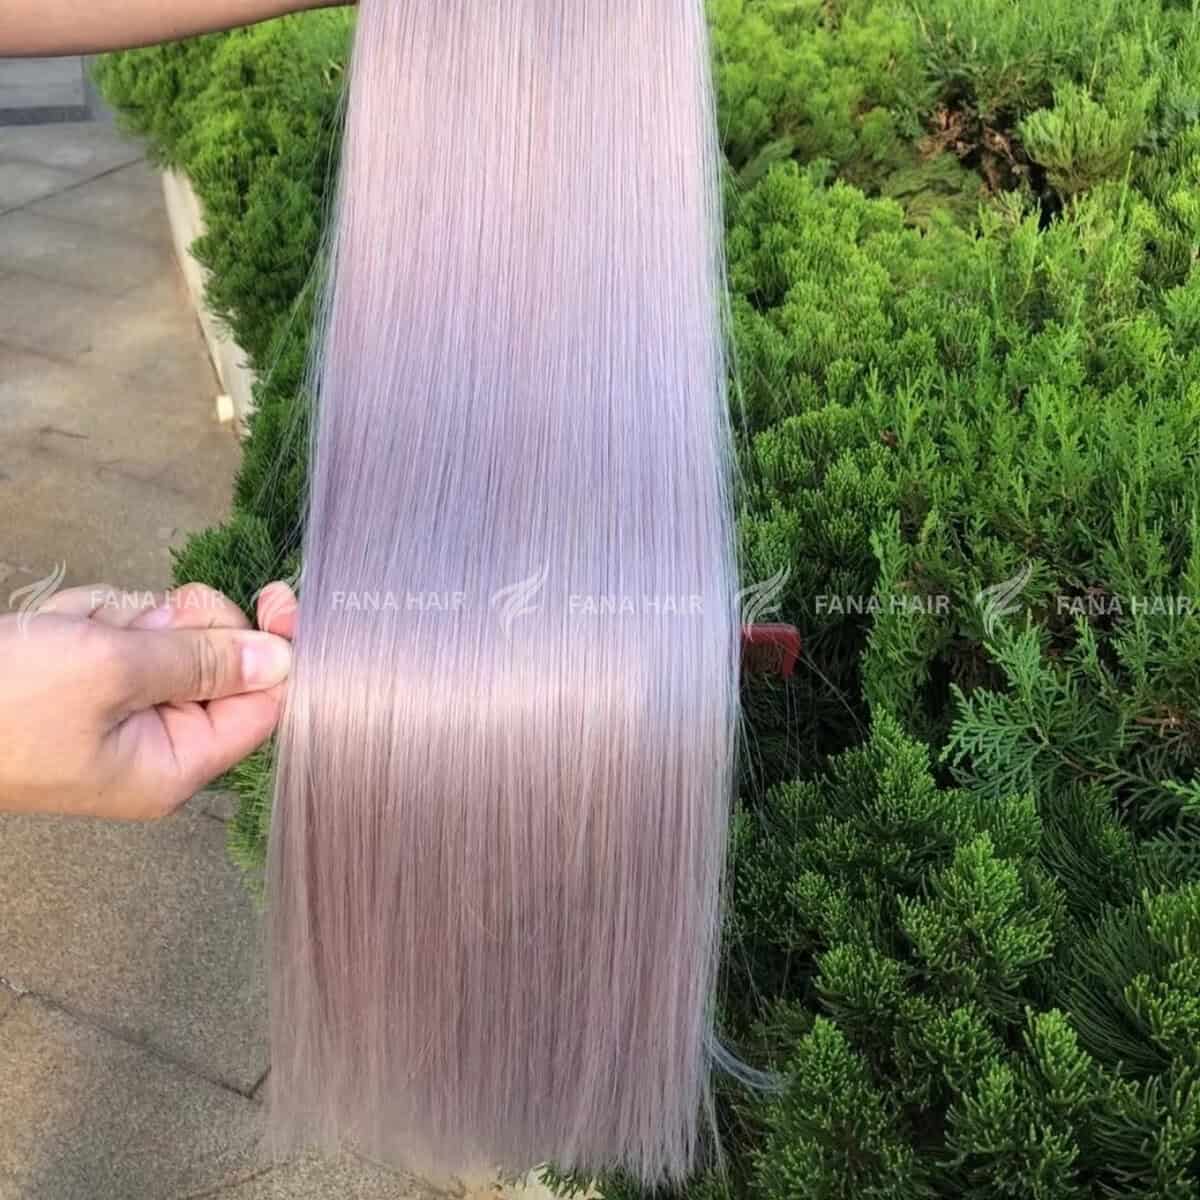
As an extension specialist, you are an artist. But your success isn’t just about your application—it’s about your illusion. You can apply the most flawless, flat, and comfortable extensions in the world, but if the color is even slightly off, the illusion is shattered.
A bad color match is the #1 dead giveaway that a client is wearing extensions.
Achieving that seamless, “100% perfect” blend isn’t about finding one magic color. It’s a technique. It’s an art. It’s what separates a “good” stylist from a “master.”
Forget what you think you know. This is the professional, A-Z guide to a flawless color match, every single time.
The 3 “Don’ts”: Stop Making These Common Mistakes
Before we get to the “how-to,” let’s cover what not to do.
- DON’T Match from a Photo: Never. A client’s phone screen, your phone screen, and the lighting in the photo all lie. The color will be distorted. The client must be in your chair.
- DON’T Match Under Salon Lights: This is the most common trap. Your salon’s beautiful, warm, (often yellow-toned) lighting is designed for ambiance, not for color accuracy. It will hide undertones and trick your eye.
- DON’T Match the Root: This is the biggest rookie mistake. The extensions don’t live at the root. The client’s root color (especially if they have regrowth) is often the darkest part of their hair. If you match the root, the extensions will be too dark and will look like a solid, blocky, obvious patch.
The A-Z Technique for a 100% Perfect Match
Ready to get it right? Follow these steps meticulously.
Step 1: Get in the Light
This is the Golden Rule. Take your client and your color ring and walk over to a large window. Natural daylight is the only “true” light. It is the only light that will accurately reveal all the warm and cool undertones in their hair. If it’s dark out, use the “cleanest” white light you have, but natural light is always king.
Step 2: Identify Your “Target Zone”
You are not matching the root. You are not matching the very tips (which can be old and porous). You are matching the mid-lengths to the ends. This is the “zone” where the extension hair will live and blend with the client’s natural hair.
Step 3: Use Your Professional Color Ring
This is your most important tool. Use the color ring from the exact hair supplier you are ordering from. (A #8 from one brand is not the same as a #8 from another.)
Hold the swatches against the client’s mid-to-ends. Don’t just lay it on top. Weave the swatch into the hair.
The Test: The right color swatch should disappear. If your eye is drawn to it, it’s the wrong color.
Step 4: When in Doubt, Go Lighter
If you are truly stuck between two shades, it is always safer to go one half-shade lighter than their natural hair.
- Why? Lighter extensions will look like subtle, natural highlights and add dimension.
- Darker extensions will look like a solid, dark, out-of-place “patch.”
The Ultimate Pro-Move: Stop Matching, Start Blending
Here is the secret: 100% of your clients have more than one color in their hair.
No one’s hair is one single, flat color (unless they just box-dyed it). Natural hair has dimension—subtle highlights from the sun, darker lowlights underneath, and a natural gradient from root to end.
A “perfect match” is not finding one swatch. It’s about creating a custom blend of 2-3 shades to recreate that natural dimension.
How to Build Your Custom Blend:
- Find the Dominant Color: This is “base” shade. It’s the color that makes up 70% of their mid-to-ends. (e.g., A Level 8 Light Brown).
- Find the Highlight: This is the subtle, lighter color you see woven throughout. It’s usually 1/2 to 1 full level lighter than the dominant color. (e.g., A Level 10 Dark Blonde).
- Find the Depth (or Lowlight): This is the darker shade that gives the hair dimension. You can usually find this by lifting the top layer of their hair and looking at the mid-shafts underneath. (e.g., A Level 6 Medium Brown).
How to Apply Your Blend:
You now have your 2-3 shades. When you apply the extensions (tapes, I-tips, etc.), you will alternate them to create a perfectly blended, multi-tonal, and 100% natural-looking result.
Example for Tapes:
- Row 1: 8 / 10 / 8 / 10 / 8
- Row 2: 6 / 8 / 6 / 8 / 6
This technique is the difference between “She has extensions” and “Wow, your hair is amazing.”
The Final Word: Stop trying to find the one color. Start your consultations by telling your client, “Your hair is beautifully multi-tonal. To make this look 100% natural, I’m going to create a custom blend of 2-3 shades to perfectly match your natural dimension.”
You will instantly establish yourself as an expert, and you will deliver a result that no single-color application can ever touch.
Leave a Reply