
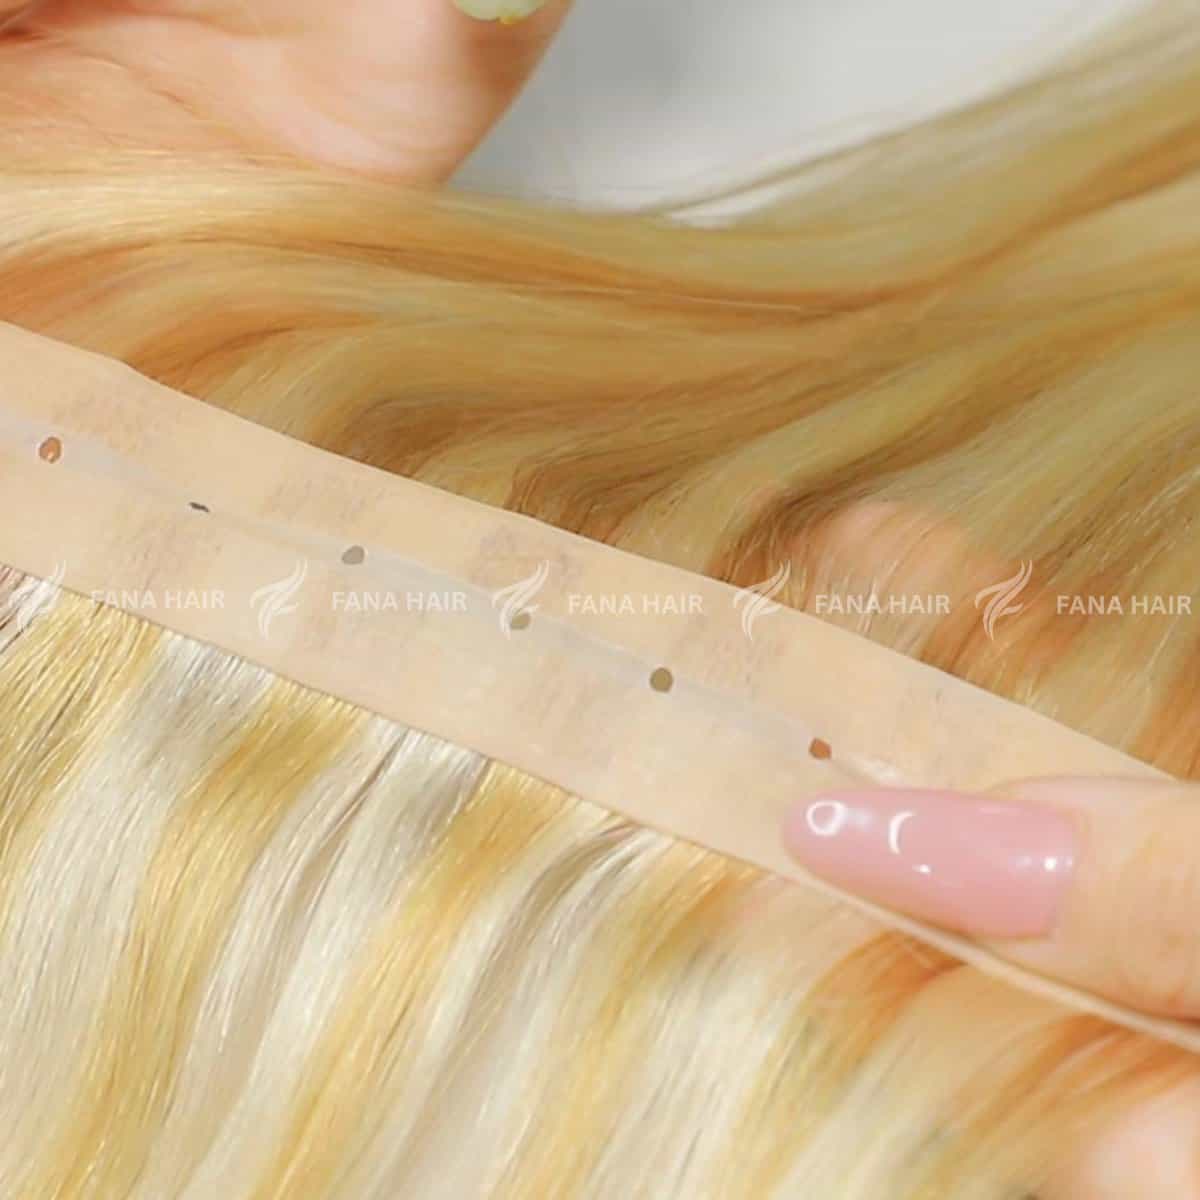
For decades, stylists had two main choices for high-volume, long-wear extensions: the durable (but bulky) traditional sew-in or the discreet (but time-consuming) strand-by-strand methods. Clients loved the volume of wefts but hated the tension, itchiness, and bulk of the underlying braids.
Then, a new trend emerged that changed everything.
Enter the Beaded Weft—also known as the “Braidless Sew-In,” the “Beaded Row,” or the “Natural Beaded Row (NBR)” method. This technique has exploded in popularity, and for good reason. It’s a revolutionary hybrid that combines the volume of a weft with the comfort and discretion of micro-beads.
It uses no glue, no heat, and no braids. It’s fast, comfortable, and lays incredibly flat. This is the modern sew-in, and it’s a service your clients are going to be asking for by name.
What is a Beaded Weft?
A Beaded Weft is a technique where a “track” or “foundation” is created using the client’s natural hair and silicone-lined micro-beads. Then, a hair weft is sewn directly onto that “bead track.”
- No Braids: You are not creating cornrows. This means less tension, no “lumps,” no itchiness, and no trapped moisture (which can cause mildew).
- No Glue/Heat: Like I-Tips, it’s a cold fusion method, making it safe and non-damaging.
- Maximum Fullness: You get the high-impact volume of a weft in a fraction of the time it would take to do a full head of I-Tips.
The Tools You’ll Need
- Wefts (Hand-Tied are Highly Recommended): This is key. Hand-Tied Wefts are thinner and more flexible at the seam than machine wefts. They lay flatter, are less bulky when layered, and are essential for a truly “invisible” look.
- Silicone-Lined Micro Rings (Beads): The silicone lining is non-negotiable. It protects the hair and provides a much better grip.
- Loading Tool (Loop or Hook)
- Clamping (Closing) Pliers
- C-Curve Needle & Nylon Thread
The A-Z Application: Creating the Beaded Row
Mastering this technique is all about clean sections and a secure foundation.
Part 1: The Prep
- Clarify: Wash the client’s hair twice with a clarifying shampoo.
- No Conditioner (at the root): Do not apply any conditioner, oils, or serums near the scalp. The beads need a clean, non-slippery surface to grip.
- Dry 100%: Blow-dry the hair completely.
Part 2: Creating the “Bead Track” (The Foundation)
This is the most important step.
- Section: Create your first clean, horizontal section at the nape. All hair must be clipped securely out of the way. Your track should stay within the “Safe Zone” (at least 1 inch from all hairlines).
- Place the First Bead: Take a small, clean section of the client’s natural hair (about the same amount you’d use for an I-Tip). Use your loading tool to pull this hair through a silicone-lined bead.
- Position & Clamp: Slide the bead up to about 1/2 inch from the scalp. (Never on the scalp!). Clamp it flat with your pliers.
- Create the Row: Move over about 1/2 to 3/4 of an inch and repeat the process. You will create a clean, horizontal line of beads, all clamped to small sections of the client’s hair. This is your “braidless track.”
Part 3: Sewing the Weft
Now that you have your foundation, the sewing is simple.
- Anchor the Weft: Take your hand-tied weft and lay it against the bead track.
- Thread & Stitch: Thread your C-needle with nylon thread. Make your first anchor stitch at the beginning of the weft, locking it securely to the track.
- The Stitching Process: Using a “blanket stitch” or “lock stitch,” begin sewing the weft onto the track. You will pass your needle under the “bridge” of hair that sits between the beads, and then up through the weft.
- Secure: Continue this stitch along the entire track, locking the weft to the hair that spans the gaps between the beads. The weft is now securely attached to your beaded foundation.
- Stacking (for Volume): This is what makes the method so great. You can easily stack 2, 3, or even 4 hand-tied wefts on top of each other and sew them all onto the same bead track for incredible volume without the bulk.
The Maintenance: The “Move-Up”
This is the fastest, most profitable maintenance appointment in the extension world.
- Client Returns (6-8 Weeks): The track has grown out with the client’s natural hair.
- Snip the Thread: Use your shears to carefully cut the thread that holds the weft to the track. Remove the weft (it’s 100% reusable).
- Open the Beads: Use your removal pliers to gently open each bead in the track.
- “Move Up” the Track: Slide each bead and the section of hair it’s on back up to the original 1/2-inch-from-the-scalp position.
- Re-Clamp & Re-Sew: Re-clamp all the beads in the track. You now have a fresh, secure foundation. Simply re-sew the exact same weft back onto the track.
The client gets a “brand new” install feel in a fraction of the time, and you don’t have to re-install from scratch.
The Final Word
The Beaded Weft is the future of volume extensions. It’s the perfect solution for the modern client who wants the fullness of a sew-in without the braids, and the safety of cold fusion without the hours of strand-by-strand application.
It’s comfortable, invisible, non-damaging, and 100% reusable. Adding this service to your menu positions you as a cutting-edge stylist who is an expert in the latest, most in-demand techniques.
Leave a Reply