
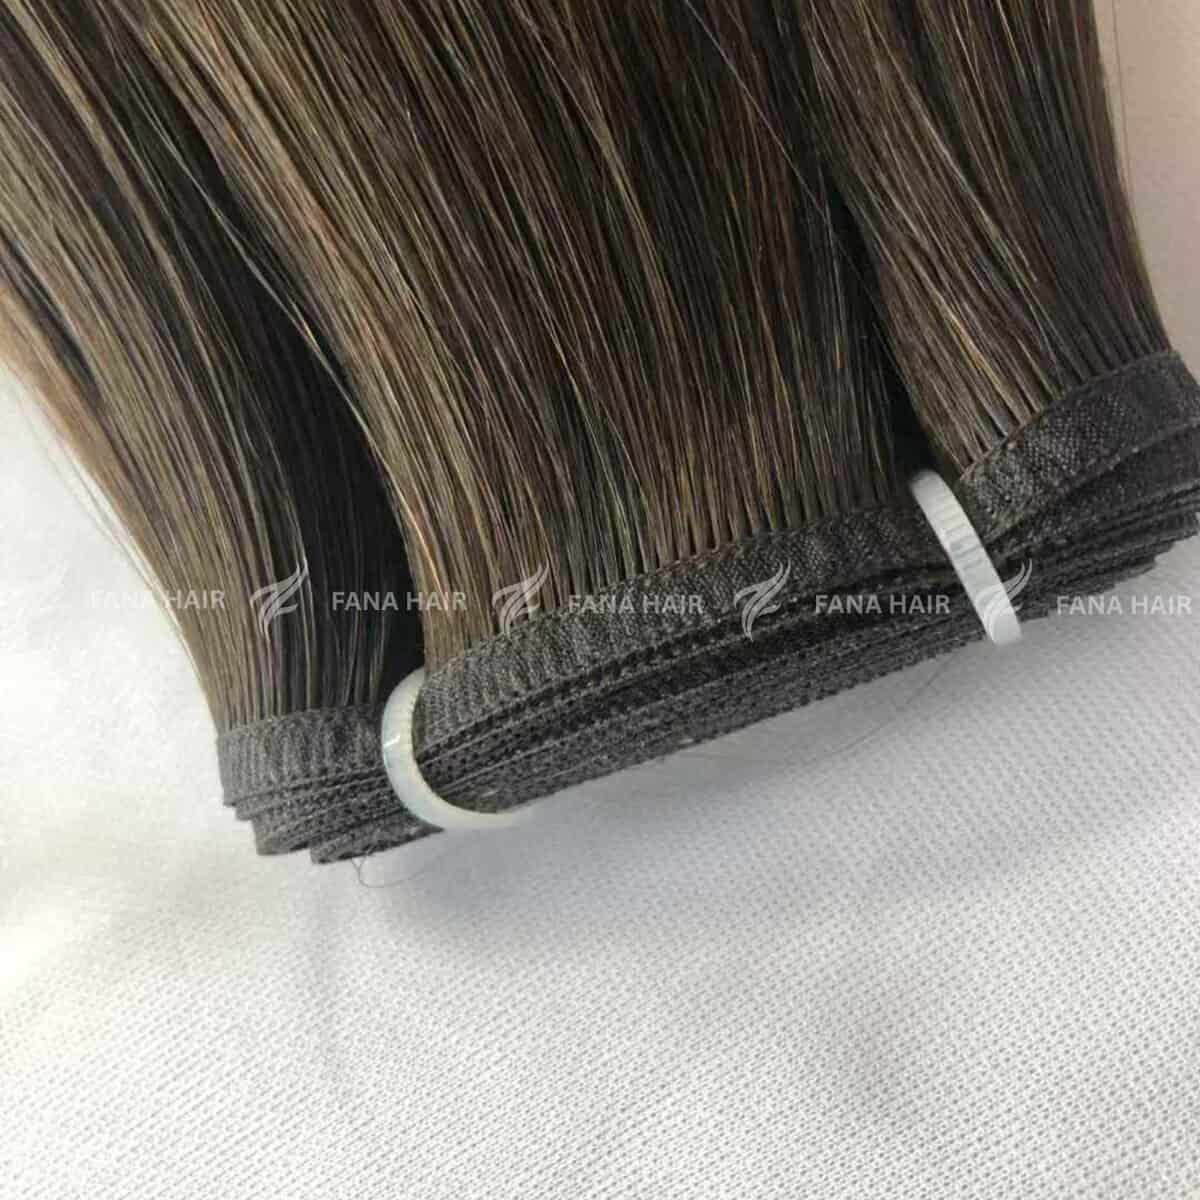
In an age of tapes, tips, and micro-links, the traditional sew-in remains an undefeated champion. It is the cornerstone of hair extension techniques, a time-tested method prized for its durability, protective qualities, and unparalleled volume.
Unlike methods that rely on adhesives or individual strands, the traditional sew-in (also known as a “weave”) involves sewing a hair weft directly onto a foundational “track” of the client’s own braided hair (cornrows).
This technique is a true art form. It requires skill in braiding, a strategic understanding of placement, and a meticulous sewing hand. Mastering it makes you a versatile and highly sought-after stylist. This is your A-Z guide to the classic sew-in.
Part 1: Consultation & Prep (The Foundation)
A long-lasting sew-in is built on a healthy, clean foundation.
- Client Suitability:
- Ideal Candidate: This method is a “protective style,” making it perfect for clients with medium-to-thick, coarse, or textured hair who want to give their natural hair a “rest” from daily styling. It offers full coverage and massive volume.
- Use Caution: This is not recommended for clients with fine, thin, or low-density hair. The tension from the braids and the weight of the wefts can be too much and may lead to damage or traction alopecia.
- Gather Your Tools:
- Hair Wefts (Machine-tied or Hand-tied)
- A “C-Curve” Needle (curved for easy sewing)
- Nylon Weaving Thread (matches the root color, not cotton, as it can mildew)
- Sectioning Clips
- Tail Comb
- Shears / Razor
- Prep Wash (The Most Important Step):
- The client’s scalp and hair must be impeccably clean.
- Clarify: Wash the hair twice with a clarifying shampoo to remove all product buildup.
- Hydrate: Follow with a deep conditioner. This is the hair’s last treatment before being braided away for 6-8 weeks.
- 100% Dry: The hair must be completely dry. Braiding even slightly damp hair will trap moisture and can lead to mildew, scalp irritation, and odor.
Part 2: The Braid Foundation (The “Blueprint”)
The braid pattern is the most critical part of a sew-in. It is the anchor for your entire application. A bad foundation means a lumpy, painful, or unstable install.
- The Goal: Create a series of flat, firm (but not tight), and strategically placed braids (tracks) that the wefts will be sewn onto.
- Tension is the Enemy: Braids that are too tight will pull on the client’s scalp, causing pain, headaches, and traction alopecia. The base should be secure, but comfortable.
- Common Patterns:
- Leave-Out Pattern (Partial Sew-In): This is the most common. A “U” shape of hair at the crown and the entire perimeter (hairline) is left out. The braids are sewn in a “beehive” or concentric “U” pattern, following the shape of the leave-out. This allows the client’s natural hair to be blended over the top.
- Full Closure Pattern: No hair is left out. The entire head is braided down, and the install is finished with a lace closure or frontal piece, which is also sewn down.
Part 3: The Application (Stitching the Weft)
Once your “blueprint” is braided, the sewing begins.
- Threading Your Needle: Pull your nylon thread through the needle’s eye. Double it up and tie a secure knot at the end, creating a strong loop.
- Anchor the Weft: Start at the nape, on your first braid track.
- The “Fold-Over” Method (Pro-Tip): Do not cut your wefts unless you absolutely have to. Cutting wefts creates shedding. Instead, fold the weft over itself when you reach the end of a braid track and are ready to move to the next.
- Place the start of your weft (or the folded-over end) at the edge of the braid.
- The First Stitch (The Anchor): Make your first stitch by passing the needle under the braid track and up through the weft. Loop the needle back through your thread loop and pull tight. This creates a secure anchor knot.
- The “Lock Stitch” (The Money Move): This is the stitch that prevents the weft from slipping.
- Step A: Pass the needle under the braid track and up through the weft.
- Step B: This will create a new loop of thread. Before you pull it tight, pass your needle back through that loop.
- Step C: Pull tight. This “locks” the weft to the braid.
- You don’t need to do a lock stitch on every stitch, but you should do one every 3-4 stitches, and always at the beginning and end of a track.
- Continue Sewing: Move along the track, spacing your stitches about 1/2 inch apart, using the lock stitch method to keep everything secure. Ensure your weft is laying flat and is not buckling.
- Finishing: When you reach the end of your foundation or are ready to finish, secure the weft with 3-4 tight lock stitches in the same place.
Part 4: Blending & Aftercare (The Finish)
- Blending (for Leave-Outs):
- Your client’s “leave-out” hair is now your top priority.
- Cut: Use a razor or point-cutting shears to create seamless layers that blend the client’s natural hair into the extensions.
- Style: Use a flat iron or curling iron to “melt” the texture of the leave-out hair with the texture of the extensions.
- Aftercare Education (Crucial for Sew-Ins):
- Scalp Care: The scalp will get itchy. Instruct the client to pat the scalp, not scratch. They can use a nozzle-tip scalp oil (like tea tree or jojoba) to gently moisturize the scalp between the tracks.
- Washing (1-2x per week): This requires a new technique. The client should focus shampoo on the scalp and let the suds run down the hair. Gently squeeze shampoo/conditioner through the extension hair.
- THE MOST IMPORTANT RULE: DRY THE BRAIDS. After washing, the client must sit under a hooded dryer or use a handheld dryer to ensure their braided foundation is 100% dry. Trapped moisture leads to mildew, odor, and scalp irritation.
- Sleeping: The client must sleep with a satin or silk bonnet/scarf to reduce friction and protect the hair.
- Maintenance & Removal:
- A sew-in should not be worn for longer than 6-8 weeks. After this, the natural hair growth causes too much tension and can lead to matting.
- Removal is a professional service. The client returns to have the stitches cut, the wefts removed, and their natural hair safely detangled.
Conclusion: The traditional sew-in is a foundational skill that offers clients a secure, long-lasting, and protective option for full-volume transformations. It’s a testament to your skill as a stylist and a beloved, reliable technique that will never go out of style.
Leave a Reply