
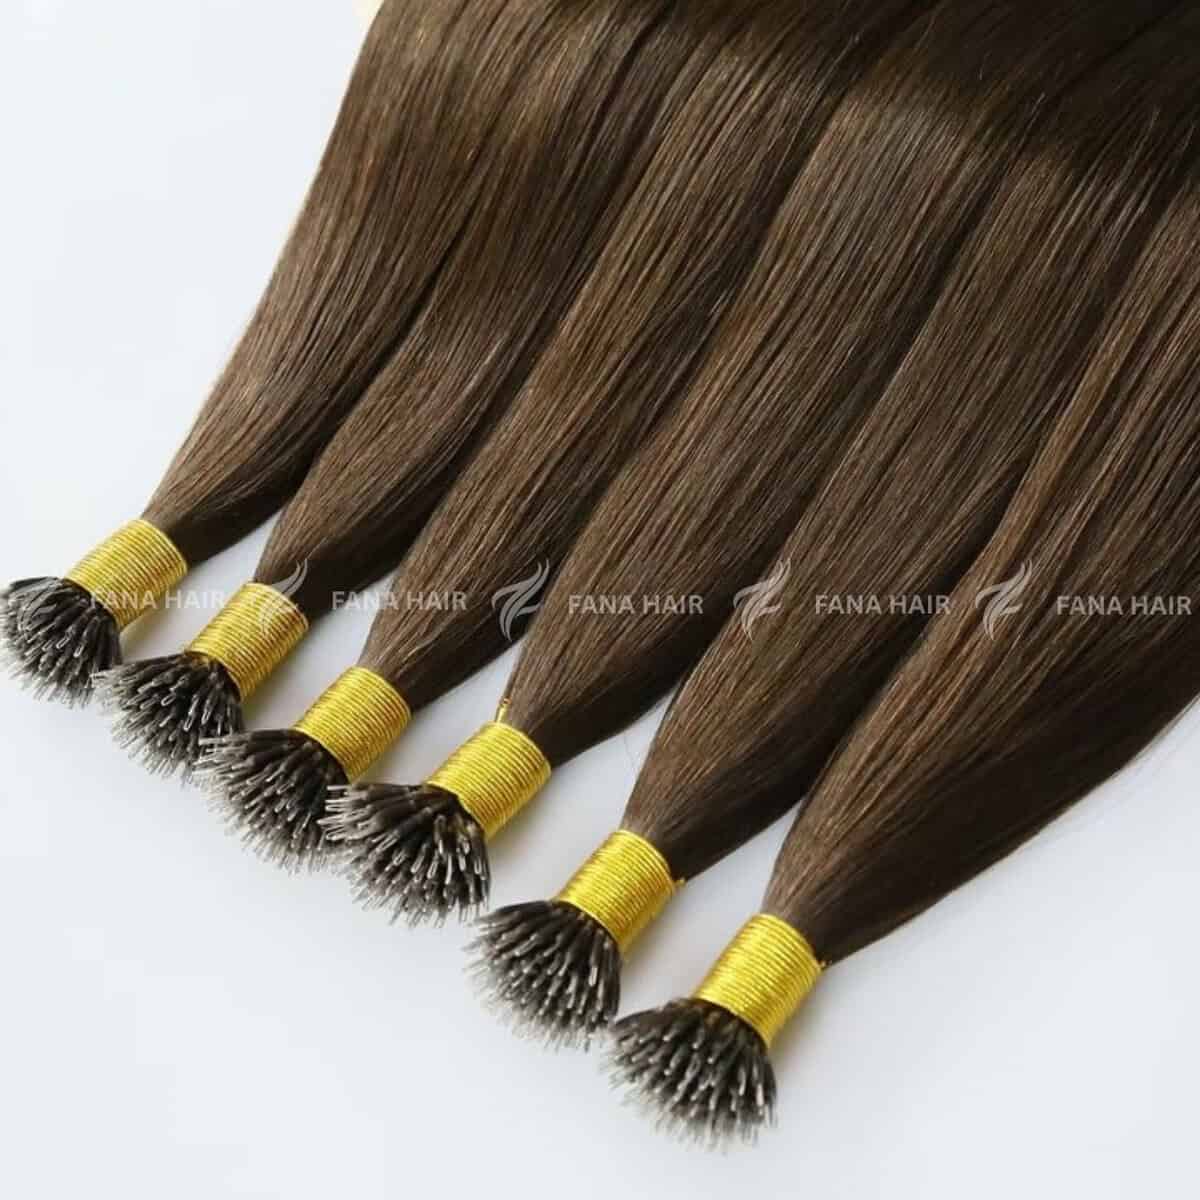
In the diverse world of hair extensions, clients are more educated than ever. They’re asking for methods that are safe, discreet, and reusable. This has led to the massive popularity of Micro Ring Extensions, also known as I-Tip or Cold Fusion.
This strand-by-strand technique is a complete game-changer. It uses no heat, no glue, and no chemical adhesives, making it one of the safest and most in-demand methods on the market. It offers the same 360-degree movement and discretion as hot fusion, but with the added benefit of being 100% reusable.
Mastering this technique requires a new set of tools and a meticulous eye. This is your A-Z guide to a flawless, non-damaging Micro Ring application.
Part 1: Consultation & Prep (The “Before”)
Your application is only as good as your prep work.
- Client Suitability:
- Ideal Candidate: Clients with medium-to-thick density hair. The bonds are very discreet, but the beads themselves have some substance, so they hide best in hair that isn’t paper-thin.
- Use Caution: Be very careful with ultra-fine or thin hair. The beads may be visible, and the hair strands may be too delicate to support the weight, even without glue.
- Avoid: Clients with very oily scalps, as this can cause the beads to slip.
- Gather Your Tools (No Heat Required!):
- I-Tip Extensions: These are pre-bonded strands with a solid, “stick-like” tip made of keratin (but it is not melted).
- Micro Rings (Beads): This is your “bond.” Crucial: Always use silicone-lined beads. The inner silicone lining grips the hair and acts as a protective cushion, preventing damage from the metal bead.
- Loading Tool (Loop or Hook): A tool to pull the client’s hair through the bead.
- Clamping (Closing) Pliers: A specialized plier with a flat surface to securely clamp the bead.
- Removal (Opening) Pliers: A plier designed to crimp the bead open.
- Prep Wash (The Non-Negotiable):
- Wash the client’s hair twice with a clarifying shampoo.
- NO conditioner, oils, or serums anywhere near the root. The hair must be “squeaky clean” for the silicone to grip.
- Blow-dry 100% dry and straight.
Part 2: Sectioning & Blueprint (The “Map”)
Clean sectioning is the key to preventing matting and ensuring a comfortable, invisible result.
- Horizontal Sections: Start at the nape, about 1-1.5 inches above the hairline. Your parts must be perfectly clean.
- The “Safe Zone”: All beads must be placed at least 1 inch from the front and side hairlines and 1-1.5 inches down from the client’s part. This is the “invisible” zone for high ponytails.
- Brick-Lay Pattern: This is essential. Never place your beads in a straight, linear row. Stagger each new row of beads to fall between the beads of the row below it. This allows the hair to move naturally and prevents “gaps.”
Part 3: The Application (The Technique)
This is a step-by-step process that demands precision.
- Isolate the Hair: Use your tail comb to take a small, clean, square-shaped section of the client’s natural hair.
- The Golden Rule: The density of the client’s hair section must match the density of the I-Tip extension.
- Too much hair: The bead won’t close properly, and the extension will slip out.
- Too little hair: The extension will be too heavy, causing tension and breakage. This is the most critical safety check.
- Load the Bead: Thread one micro ring (silicone-lined) onto your loading tool.
- Pull Hair Through: Use the loading tool to “hook” the isolated section of the client’s hair. Slide the micro ring off the tool and onto the hair. The bead should now be on the client’s natural hair.
- Insert the I-Tip: Take one I-Tip extension and slide the hard, stick-tip up into the micro ring, alongside the client’s natural hair. The I-Tip should be nestled securely inside the bead.
- Position the Bead: Slide the bead (which now holds both the client’s hair and the I-Tip) up the hair shaft until it is approximately 1/4 to 1/2 inch away from the scalp.
- WARNING: Never place the bead directly on the scalp. This will cause zero movement, painful pulling, and traction alopecia.
- The Clamp (The “Money Move”):
- Hold the bead firmly in place with your fingers.
- Position your clamping pliers horizontally.
- Press firmly to clamp the bead FLAT.
- Why flat? A flat clamp creates the widest surface area for grip, locks the I-Tip in place, and prevents the bead from rolling or twisting.
- Check for Cross-Hairs: Run your comb along the scalp around the new bead to ensure no stray hairs from outside the section have been caught. Cut any strays free to prevent pulling.
- Repeat: Work your way up the head, row by row, alternating your custom-blended colors in the brick-lay pattern.
Part 4: Blending, Aftercare & Maintenance
Your work isn’t done until the client is educated.
- Blending: This is mandatory. Use a razor or point-cutting shears to blend the extensions into the client’s hair for a seamless, layered look.
- Aftercare:
- Brushing: This is the #1 rule. The client must use a loop brush or a soft-bristle brush. They must hold the roots (the beads) with one hand and gently brush from the ends up.
- Washing: Use a sulfate-free shampoo. Be gentle at the scalp. Condition from the mid-shafts to ends only.
- Oils: While oils won’t break down the bead (like they do with keratin or tape), they can make the hair inside the bead slippery, causing slippage. Advise clients to keep oils away from the roots.
- Sleeping: A loose, low braid is non-negotiable to prevent root matting.
The “Re-Fit”: The Best Part of Cold Fusion
This is the method’s unique selling point. The hair is 100% reusable.
- Maintenance: Have the client return every 6-8 weeks for a “re-fit” or “bump-up.”
- The Process:
- Use your removal pliers to gently squeeze the flat bead in the opposite direction, opening it back into a circle.
- Slide the entire installation (bead, I-Tip, and client’s hair) back up to the proper 1/4-inch distance from the scalp.
- Re-clamp the same bead flat.
- The Result: No new hair to buy, no messy removal. This is a fast, profitable, and highly valued service.
Conclusion: Cold Fusion (Micro Ring) is an incredible service to offer. It’s a “green” extension method—no chemicals, no heat, and fully reusable. By focusing on clean sectioning, the 1-to-1 density rule, and a perfect flat clamp, you can provide your clients with a safe, comfortable, and stunning result that will keep them coming back.
Leave a Reply