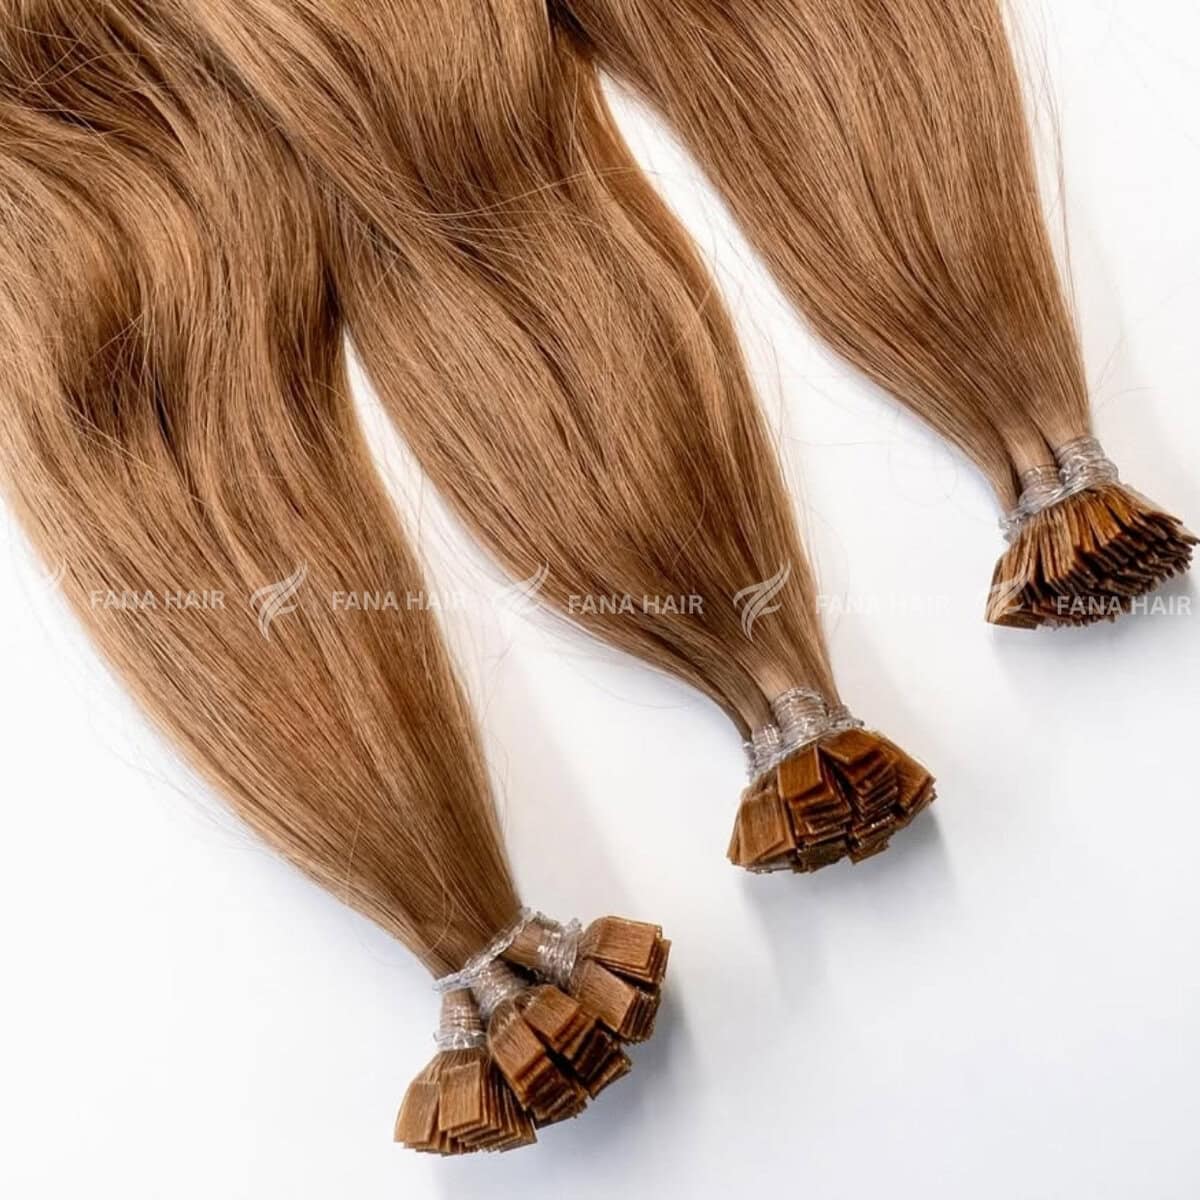
In the world of professional hair extensions, Keratin Fusion is the “couture” service. It’s the original strand-by-strand technique, revered for its durability, natural 360-degree movement, and incredibly discreet, “invisible” bonds.
Unlike faster methods like tape-ins, Hot Fusion (using U-Tip, V-Tip, or Flat-Tip bonds) is a meticulous art form. It commands a premium price because it requires patience, precision, and a high level of skill. Mastering it sets you apart as a true extension specialist.
This is your A-Z guide to executing a flawless, safe, and beautiful keratin bond application.
Part 1: Consultation & Prep (The Foundation)
A flawless result is built on a perfect foundation. Do not rush this.
- Assess Client Suitability:
- Ideal Candidate: Clients with medium-to-thick density hair who want a long-lasting (3-5 month) solution. It’s perfect for active clients as the bonds are very secure.
- Use Caution: Be wary of clients with ultra-fine or damaged hair. The “one-to-one” strand ratio is critical, and you may not have enough natural hair to support the bond without tension.
- Avoid: Clients who want a low-maintenance, fast, or temporary option. This is a commitment. Also, avoid clients with scalp sensitivity or known allergies to keratin/adhesives.
- Gather Your Tools:
- High-Quality Keratin-Tipped Extensions (U-Tip, V-Tip, or Flat-Tip)
- A Professional Fusion Connector (Heat Tool)
- Protector Shields (Discs)
- Sectioning Clips & a Tail Comb
- Finger Cots (optional, but recommended to protect your fingers)
- Color & Texture Match:
- Strand-by-strand application is the best method for custom blending.
- Select 2-3 shades that match the client’s mid-lengths and ends. You will be alternating these colors to create a perfectly natural, multi-tonal look.
- Match the texture (straight, wavy, curly) as closely as possible.
- Clarify & Dry:
- This is non-negotiable. Wash the client’s hair twice with a clarifying shampoo.
- ABSOLUTELY NO CONDITIONER or oils, especially at the root. Keratin bonds will not adhere to “slippery” hair.
- Blow-dry the hair 100% straight and dry. Any moisture will prevent a secure bond.
Part 2: Sectioning & Blueprint (The Map)
Your sectioning is your roadmap. Neat sections are the key to a clean, pain-free application.
- Horizontal Sections: Start at the nape, about 1-1.5 inches above the hairline. Your parts must be perfectly clean and crisp.
- The “Safe Zone”: Just like with tapes, all bonds must be placed “in the safe zone.” This is at least 1 inch from the front and side hairlines, and 1-1.5 inches down from the client’s part. This ensures the bonds are invisible when the hair is worn up.
- The Brick-Lay Pattern: This is essential for fusion. Never place your bonds in a straight, mechanical row. Stagger each new row of bonds to fall between the bonds of the row below it. This breaks up any “lines” and allows the hair to move naturally, without “gaps.”
Part 3: The Application (The Technique)
This is where precision becomes art.
- Isolate the Strand: Use your tail comb to take a small, clean section of the client’s natural hair.
- The Golden Rule: The density of the client’s hair section must match the density of the extension strand.
- Too much hair: The keratin bond cannot fully saturate the section, leading to a weak, “flaky” bond that will slip.
- Too little hair: The extension will be too heavy for the natural hair, causing tension, pulling, and breakage. This is the most dangerous mistake.
- Position the Shield: Slide a protector shield over the isolated strand and secure it against the scalp. This protects the client’s skin and scalp from the heat tool.
- Place the Bond: Take your U-Tip or V-Tip extension. Place the curved keratin bond underneath the client’s hair section, about 1/4 to 1/2 inch away from the scalp. (Placing it on the scalp will cause painful pulling). The client’s hair should lay over the top of the “U” or “V” shape.
- Melt the Bond: Place the heated fusion tool over the keratin bond (with the hair inside) and hold for 3-5 seconds. The keratin should turn from opaque to clear and liquid. (The shape of your tool should match the bond—a curved tool for U/V tips, a flat tool for Flat-tips).
- Roll the Bond (The “Money Move”): This is the most critical step for a durable, comfortable bond.
- Immediately remove the heat tool.
- While the keratin is warm and pliable (but not scalding!), use your (cotted) fingers to roll the melted keratin and the client’s hair together.
- The Goal: Create a tight, neat, “rice-shaped” cylinder. The bond should be completely sealed, with no air bubbles. It should be smooth, not grainy or flaky. This rolling action fully integrates the hair into the keratin.
- Do not just pinch it flat. A flat, unrolled bond is weak and will shed.
- Check for Cross-Hairs: Before moving on, run your comb along the scalp around the new bond. Ensure no stray hairs from outside the section have been caught. A single cross-hair will pull and cause intense pain for the client. Cut it free if you find one.
- Repeat: Work your way up the head, row by row, alternating your colors in the brick-lay pattern.
Part 4: Blending & Aftercare (The Finish)
The service isn’t over until the client is educated.
- Cutting & Blending: This is mandatory. Use a razor or point-cutting shears to create seamless layers. The extensions must be fully blended into the client’s natural hair.
- Aftercare Education (The Non-Negotiables):
- Wait 48-72 Hours: Do not wash, sweat, or get hair wet for 2-3 days to allow bonds to fully cure.
- Oils & Conditioners are the Enemy: This is the #1 rule for fusion. Keratin bonds are often broken down by oils and silicones. Apply conditioner, masks, and serums from the mid-shafts to the ends ONLY. Never at the root or on the bonds.
- Sulfate-Free Shampoo: Be gentle at the scalp. No vigorous scrubbing.
- Brushing: Use a loop brush or a soft bristle brush. Hold the bonds at the root with one hand and gently detangle from the ends up.
- Sleeping: This is MANDATORY. The client must sleep with their hair in a loose, low braid to prevent matting at the root.
- Maintenance & Removal:
- Longevity: 3-5 months. The hair can be reused if it’s in good condition, but it will need to be re-tipped with new keratin.
- Removal: This is a PROFESSIONAL-ONLY service. Use a keratin bond removal solution to crack the bond, then use removal pliers to break it apart. Gently comb out the residue. Never pull a bond out.
Conclusion: Keratin fusion is the ultimate extension service for a reason. It offers unparalleled discretion and longevity. By respecting the process, from the clean prep to the one-to-one strand ratio and the perfect roll, you are not just applying hair; you are crafting a truly integrated, high-end style that will last for months.
Leave a Reply