
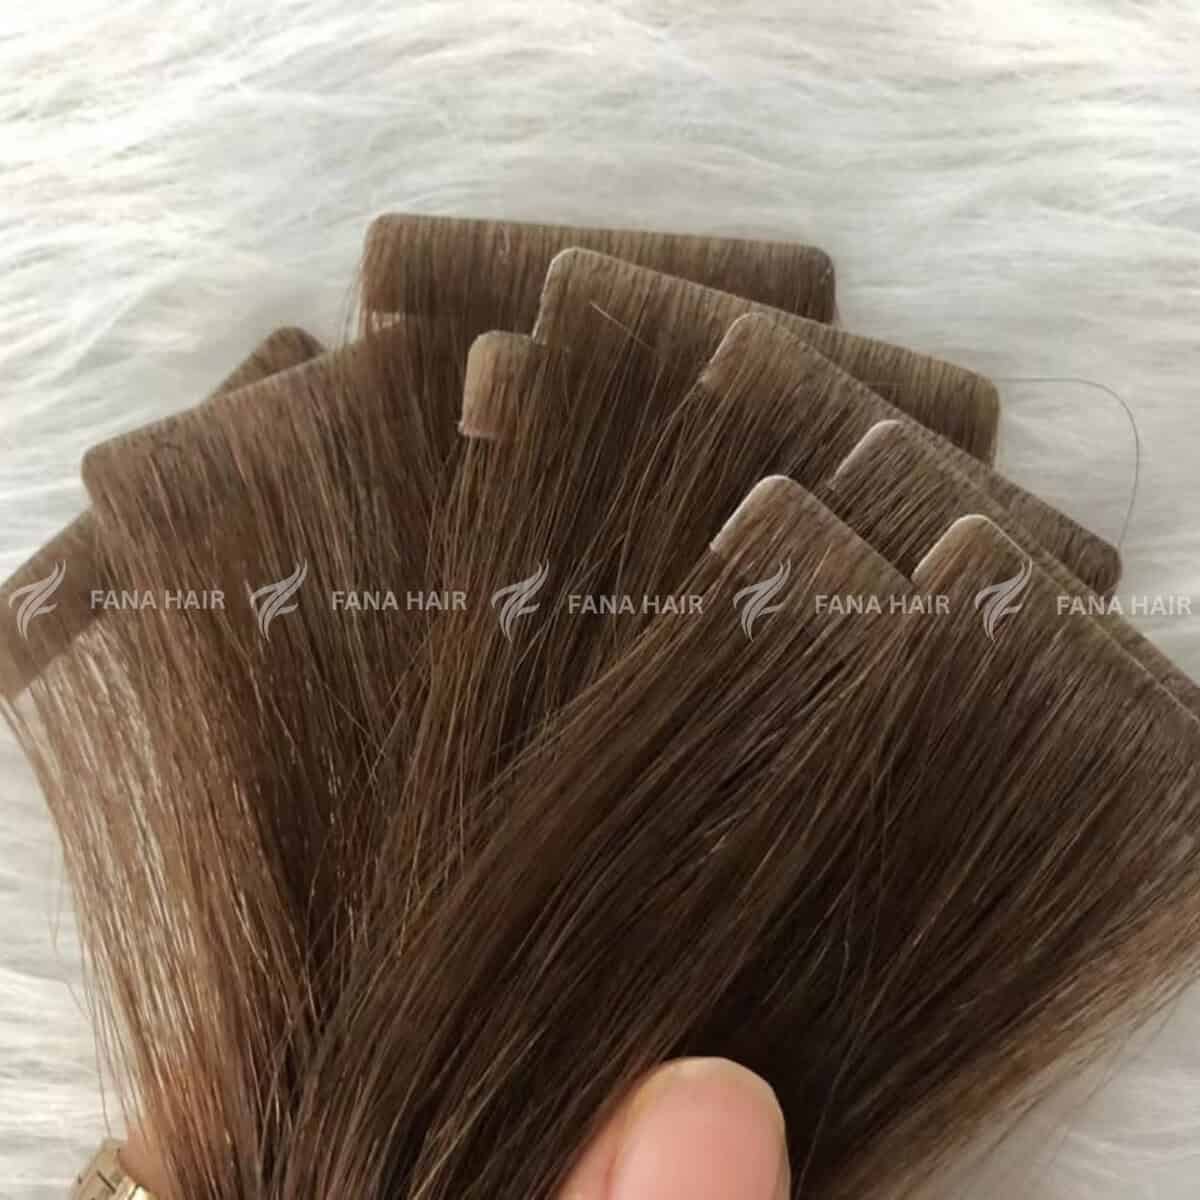
Tape-in extensions have taken the salon world by storm, and for good reason. They are the most-requested semi-permanent method, loved by clients for their flat, comfortable, and “invisible” feel. For stylists, they mean a fast application, high-profit margins, and fantastic reusability.
But don’t let the “speed” fool you. While tape-ins are fast to install, precision is everything.
A rushed, sloppy application leads to slippage, client discomfort, and even damage. A precise, educated application leads to a flawless, long-lasting result and a client who will be loyal for life.
This is your A-Z guide to mastering the art of tape-in extensions, from the consultation chair to the final style.
Part 1: The Consultation & Prep (A-G)
You cannot have a good result without a perfect start.
A – Assess Client Suitability Tape-ins are fantastic, but not for everyone.
- Ideal Candidate: Clients with fine-to-medium density hair. They are perfect for adding volume to fine hair, as the wefts lay flat and are lightweight.
- Use Caution: Be wary of clients with ultra-fine or thinning hair at the crown, as the tabs may be visible.
- Avoid: Clients with very oily scalps (which can break down the adhesive) or those who will not commit to the aftercare.
B – Blending & Color Matching Never, ever use just one color. Natural hair has dimension.
- Match to the mid-lengths and ends, not the root.
- Select 2-3 similar shades. Use a lighter color to mimic highlights and a darker shade to add depth. This is the secret to an invisible blend.
- Match the texture. Don’t put straight extensions on a naturally wavy client unless they commit to flat-ironing daily.
C – Clarify (The Critical Wash) This is the most common point of failure. The hair must be surgically clean.
- Wash the client’s hair twice with a clarifying shampoo.
- Do NOT use any conditioner, masks, or oils, especially at the root.
- Do NOT use any leave-in products or serums.
- Blow-dry the hair 100% dry. Any moisture or product residue will cause the tabs to slip.
D – Density Mapping. You cannot place tape-ins correctly if you don’t understand the density of each area of the scalp.
Divide the head into three zones: the perimeter, the mid-zone, and the crown.
- The perimeter is always the thinnest, so use lighter density and fewer wefts.
- The mid-zone can handle the highest density.
- The crown determines whether the extensions look natural when the client ties their hair up.
If you fail to “read” density correctly, you’ll place tapes too thick or too thin, leading to visible tabs or unnecessary weight.
E – Elevation Control. Sectioning should never be random.
The elevation of each subsection affects the tension on the tapes:
- Too low: creates pulling and discomfort
- Too high: causes instability and poor adhesion
Maintain a consistent, moderate elevation so the tapes sit flat against the head without creating stress on the natural hair.
F – Final Surface Smooth. Before applying any tape, the subsection must be perfectly smooth and straight.
- Use a fine-tooth comb to detail each slice
- No twisting, folding, or bunching of hair
- No stray hairs escaping outside the tab
A “messy” base creates air pockets between the tapes, causing slipping, hair breakage, and a shorter wear time.
G – Gap Check. The distance between the tape and the scalp is non-negotiable.
- Too close: causes pain, pulling, and traction issues
- Too far: makes the tab swing, reducing adhesion and increasing slippage
The optimal gap is two to three millimeters. The tape must sit parallel to the scalp with no tilting or rotation. Always check placement immediately after applying each tab.
Part 2: Sectioning & Placement (H-N)
A good application is all in the blueprint. Your sectioning is your guide.
H – Horizontal Sections Start at the nape, about 1-2 inches above the bottom hairline. Use your tail comb to create a clean, crisp, horizontal part. Clip all other hair up securely.
I – “In the Safe Zone” This is the golden rule for invisible extensions. The “Safe Zone” is:
- At least 1 inch from the front hairline.
- At least 1 inch from the side hairlines.
- At least 1-1.5 inches down from the client’s part.
- Below the occipital bone for the back sections. Any weft placed outside this zone risks being seen when the client wears their hair up.
J – Just Enough Space Leave about 1/4 inch of space between the scalp and the tape tab. Placing the tape on the scalp will cause it to pull, buckle, and be extremely painful for the client.
K – Keep the “Brick-Lay” Pattern Never place your rows of wefts directly on top of each other. Stagger them in a “brick-lay” pattern. This ensures the wefts move more naturally and that the top wefts hide the tabs of the row below them.
L – Lift & Angle on the Sides When working on the sides of the head (above the ear), place your wefts on a slight diagonal, angling up towards the face. This follows the natural curve of the head and allows the hair to fall forward more naturally.
Part 3: The Application “Sandwich” (O-T)
This is the technique itself. Precision is the key.
O – One Slice of Hair Use your tail comb to take a thin, precise slice of the client’s natural hair.
- How thin? You should be able to “read a newspaper” through it.
- How wide? It must be the exact same width as the tape weft. No stray hairs hanging over the sides.
- Too much hair: The tape will not seal, and the weft will slide out.
- Too little hair: The weft will put too much strain on the few strands, causing tension and breakage.
P – Place the Bottom Tape Peel the tab from your first weft. Place this underneath your slice of hair, sticky side up, about 1/4 inch from the scalp.
Q – “Quickly Check Your Corners” Before placing the top tape, make sure no tiny hairs are stuck to the corners of the bottom tape. Use your tail comb to “clean” the edges.
R – Release the Top Tape Peel the tab from your second weft. Place this directly on top of the first weft, sticky side down, creating the “sandwich.” The client’s hair is now sealed in the middle.
S – Secure the Seal Press the two tabs together firmly with your fingers. Then, using your extension pliers or tool, give the tab one or two firm presses to seal it.
- CRITICAL: Only press the tape tabs. Do not press the middle of the weft where the hair is. This can cause the weft to buckle and pucker.
T – Try the “Single-Sided” Method (For Fine Hair) Is your client’s hair very fine, especially on the sides? A full “sandwich” might be too heavy. Instead, use a single weft on the bottom and a “single-sided” replacement tape on the top. This creates a half-weft that is lighter and less dense.
Part 4: Blending & Aftercare (U-Z)
Your job isn’t done until the hair is blended and the client is educated.
U – Unleash Your Razor This is not optional. You must cut the extensions to blend. A razor is often the best tool for creating soft, seamless layers. Point-cutting with shears also works. Never cut the extensions in a blunt, straight line—this creates the dreaded “shelf.”
V – “Victorious” Styling The final blend comes from styling. Run a flat iron or curling iron over the client’s hair and the extension hair together. This “melts” the two textures and marries them into one, seamless look.
W – Wait 48-72 Hours The client must wait at least 48 hours before washing their hair or getting it wet. This allows the adhesive bonds to fully cure.
X – “X-plain” the Aftercare Rules Give your client a printed card with these rules.
- Shampoo: Sulfate-free only.
- Conditioner: Mid-shafts to ends only. Never let conditioner or oils touch the tape tabs.
- Brushing: Use a loop brush or a wet brush. Hold the roots at the bond and brush from the ends up.
- Sleeping: Never sleep with wet hair. Put hair in a loose, low braid or ponytail.
Y – “Your Next Appointment” Book their re-installation (removal and re-application) appointment for 6-8 weeks. Do not let them go longer.
Z – “Zero Damage” Removal When the client returns, saturate the tabs with a professional-grade tape-in remover (alcohol or oil-based). Let it sit. The wefts should slide out with zero pulling. Shampoo, clarify, and re-apply.
Conclusion: Tape-in extensions are a premium service. By treating the application with the precision of a surgeon—from the clarifying wash to the brick-lay pattern and the perfect “slice”—you guarantee a result that is safe, comfortable, and flawlessly beautiful.
Leave a Reply