
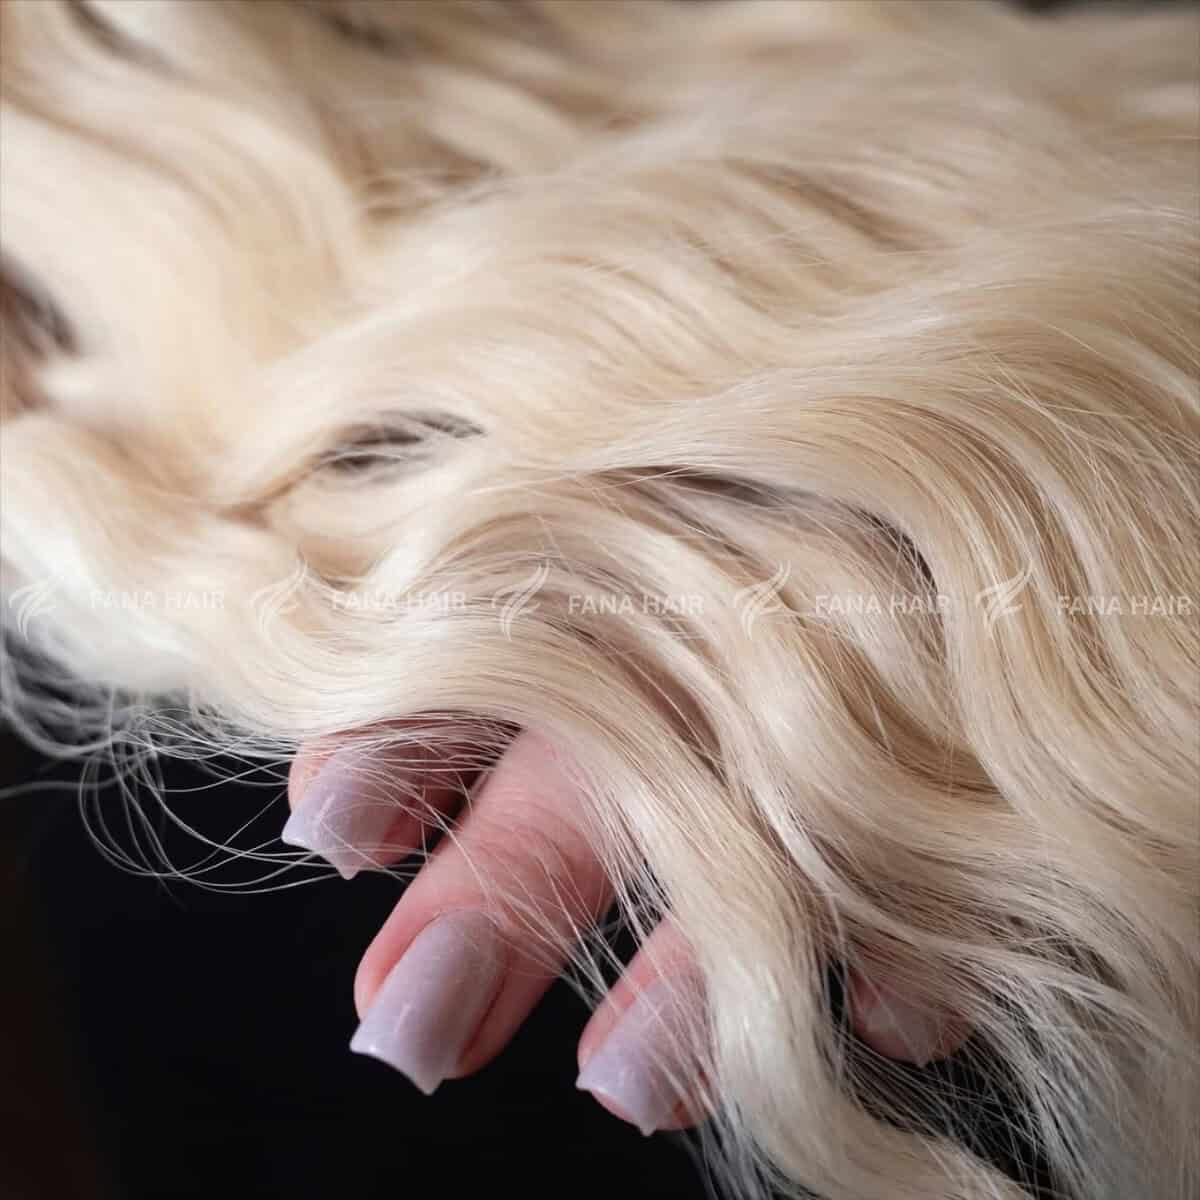
In the world of hair extensions, we talk a lot about the “Big Two” for a perfect blend: Color and Application. We obsess over getting the color match perfect and ensuring our bonds or wefts are invisible.
But there is a third, equally critical side to this triangle: Texture.
You can have a flawless color match and a hidden application, but if you install poker-straight extensions on a client with a natural wave and frizz, the result is a dead giveaway. The hair won’t move together, it won’t style together, and it won’t look real.
Mastering texture matching is the final, essential skill that elevates your work from “good” to “undetectable.” Let’s break down the common textures and, more importantly, how to choose the right one for your client.
Part 1: Decoding the Extension Textures
First, let’s understand what you’re buying. Most extension textures (anything other than “natural straight”) are created using a gentle, permanent steam-processing. This sets the hair into a specific pattern.
- Natural Straight: This is the natural, raw state of the hair, common in high-quality Vietnamese or European hair. It’s not “bone straight” or “silk straight” like a flat iron. It has natural movement, a slight bend, and may have a very subtle wave after washing.
- Body Wave: This is the most popular and versatile texture. It’s a large, soft “S” wave that gives the hair volume and movement. It’s the classic “blowout” look.
- Deep Wave: A more defined and tighter “S” wave than a body wave. This texture is for clients who want a pronounced, wavy pattern.
- Curly (e.g., Kinky Curly, Deep Curly): These textures are designed to match natural curl patterns, from looser ringlets (like Type 3) to tighter coils (like Type 4). The pattern is much tighter and has significant volume.
Part 2: The Art of the Match: How to Choose the Right Texture
This is the most important part of your consultation, and it all comes down to one question: What is your client’s natural, air-dried hair like?
You must see your client’s hair in its natural state to make a professional recommendation. Here are the rules for a perfect match.
Rule 1: The Air-Dry Test
The single biggest mistake is matching texture to hair that has just been flat-ironed or blown out.
Ask your client to come to their consultation appointment with their hair clean, product-free, and air-dried. This is the only way to see their true, underlying texture. Is it straight with a little frizz? Is it wavy at the ends? Does it have a strong curl pattern at the root? This is your “blueprint.”
Rule 2: Match Their Lifestyle, Not Just Their Hair
Once you know their natural texture, you must ask about their daily routine.
- Scenario A: The “Wash and Go” Client
- Her Hair: Naturally wavy (2b/2c) or curly (3a/3b).
- Her Routine: She hates styling, loves to air-dry, and wants a low-maintenance look.
- Your Choice: Body Wave or Deep Wave. You must match her natural pattern as closely as possible. If you use straight extensions, she will have a “curtain” of natural wavy hair on top and a perfectly straight section underneath. It will look terrible unless she flat-irons her hair every single day—which she just told you she hates doing.
- Scenario B: The “Daily Flat-Iron” Client
- Her Hair: Naturally frizzy, wavy, or unruly.
- Her Routine: She is 100% committed to flat-ironing her hair straight every single day.
- Your Choice: Natural Straight. In this case, you are matching her desired and maintained texture. Giving her a straight texture will make her life easier. She will only need to flat-iron her own leave-out hair to blend, rather than fighting to straighten both her own wavy hair and a wavy set of extensions.
- Scenario C: The “Embrace the Curls” Client
- Her Hair: Naturally curly or coily (Type 3c/4a/4b, etc.).
- Her Routine: She wears her hair natural and wants extensions for fullness or length.
- Your Choice: Kinky Curly or a matching curl pattern. This is a non-negotiable. Blending straight or wavy extensions into true curly hair is a nightmare, requires constant heat (which leads to damage), and never looks natural. You must match the curl pattern.
Pro-Tips for a Flawless Texture Blend
- Don’t Forget About Density and Frizz: Texture isn’t just about pattern; it’s also about the “puffiness.” If your client has very fine, frizzy, light-density hair, a super-sleek, heavy-density “Natural Straight” (like premium Vietnamese hair) might look too shiny and too healthy. It can create a “doll hair” look. In this case, you may need a texture that has a slightly more “lived-in” or less-perfect finish to match her natural frizz.
- The “Melting” Technique: After application, the best way to blend the client’s hair into the extensions is with a heat tool. Use a flat iron or curling iron and style both the natural hair and the extension hair together, especially at the “seam” where her hair ends and the extensions begin. This “melts” the two textures into one.
- Educate Your Client: Remind your client that steam-processed textures (like Body Wave) will relax over time. Also, teach them how to “revive” the pattern. For example, a Body Wave can be scrunched with mousse while damp to encourage the wave, or a Kinky Curly texture needs to be hydrated with a spray bottle and conditioner.
The Bottom Line: Texture is not an afterthought. It’s a core component of your consultation. By analyzing your client’s natural, air-dried hair and matching it to their daily lifestyle, you can choose a texture that will not only look invisible but will also make their life easier—and that is the mark of a true extension expert.
Leave a Reply